In my last post, I kicked off a beginner Power Automate series. I explained how to get oriented in Power Automate menus and ended just shy of creating a flow. This post picks up where that one left off. We’ll talk about Power Automate triggers and actions. More specifically, I’ll explain the different types of triggers and how to find and use actions to create a flow. Read on to learn more.
Some folks like to read. Others like to watch. Here is the YouTube version of this post. Please subscribe and share.
Triggers & Actions
To get started with Power Automate triggers and actions, know that all Power Automate flows must have at least one trigger and one action. If one is missing, the application won’t allow you to save your work.
Types of Triggers
So, what is a trigger? A trigger is an event that starts a cloud flow. You should have a trigger in mind in the create screen because it dictates the create option you choose. Microsoft provides three types of triggers.
- Automated triggers
- Scheduled triggers
- Triggers for manual flows
Automated triggers run a cloud flow based on an event. Examples of automated triggers include….
- When an email is received from a certain person…
- If a SharePoint list is updated….
- When a new file is saved in OneDrive…
When one of these things happens, an action follows.
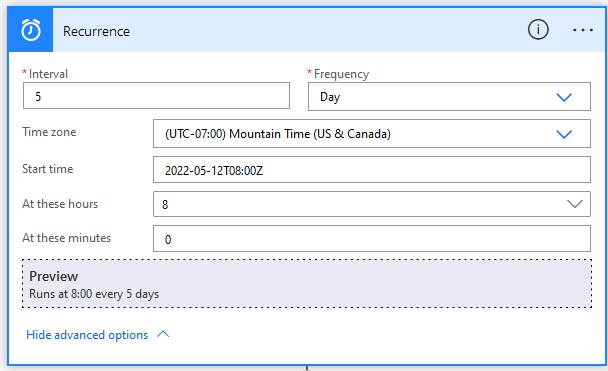
Scheduled triggers run a cloud flow to run at a certain time or time interval.
Triggers for manual flows require a person to kick off the flow. Really it’s just a formality, but you still have to add a trigger. I’ll go into more detail on each of the triggers below.
Automated Triggers
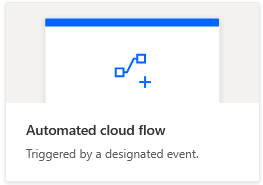
To create a cloud flow with an automated trigger, click the option for Automated cloud flow show below from the Create screen.
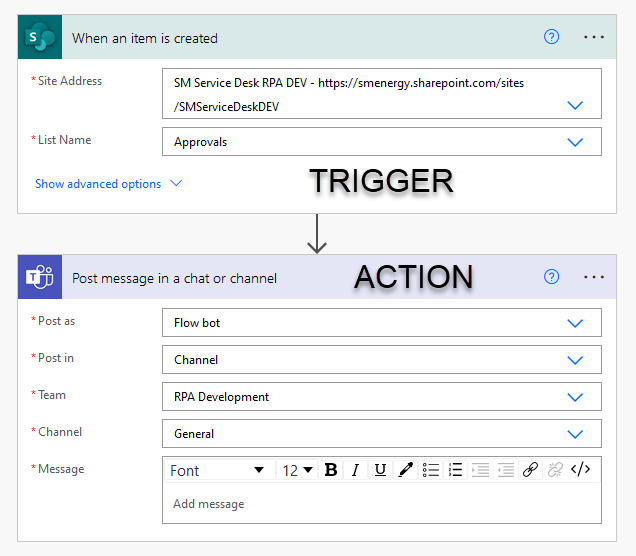
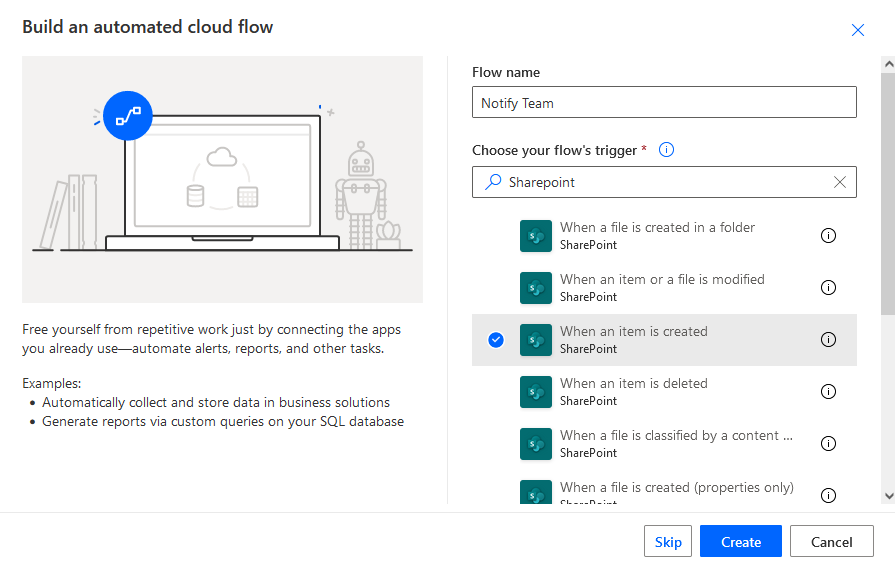
Then, Power Automate will ask you to name the flow and choose a trigger. I recommend entering the application name to whittle down the list because there are a lot of triggers. In the example below, I typed in, “SharePoint”, to pull up a list of all the SharePoint triggers, and I was able to quickly find my desired trigger, which was When an item is created (in SharePoint). From there, just click Create.
Scheduled Triggers
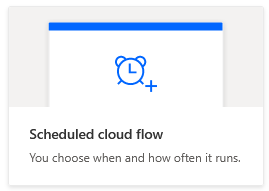
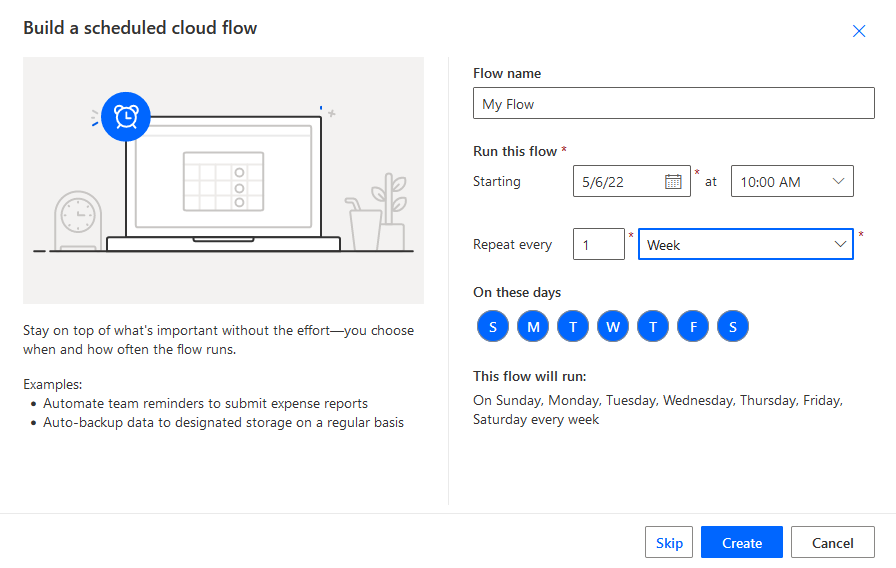
To build a cloud flow with a scheduled trigger, click Scheduled cloud flow. However, when I am building out scheduled flows, adding the schedule trigger is usually the last thing that I do. Therefore, instead of choosing a Scheduled cloud flow, I choose Instant cloud flow and then add in a scheduled trigger later. The reason for this is quite simple. When building a flow, you need to test it, and you don’t want to wait for the schedule to trigger the flow. You want to test it now! Therefore, use a manual trigger until it’s ready to rock and roll. As a result, I never create flows using the Scheduled cloud flow option.
And just to be clear, you can always change a trigger regardless of where or how you started the flow creation. If you create a flow with a manual trigger, changing it to a scheduled trigger is easy and fast.
Manual Triggers
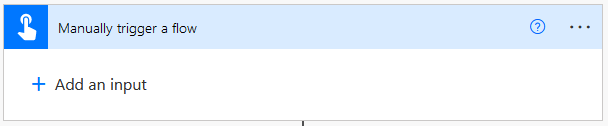
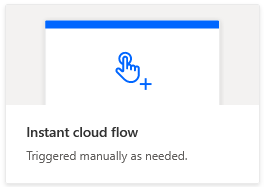
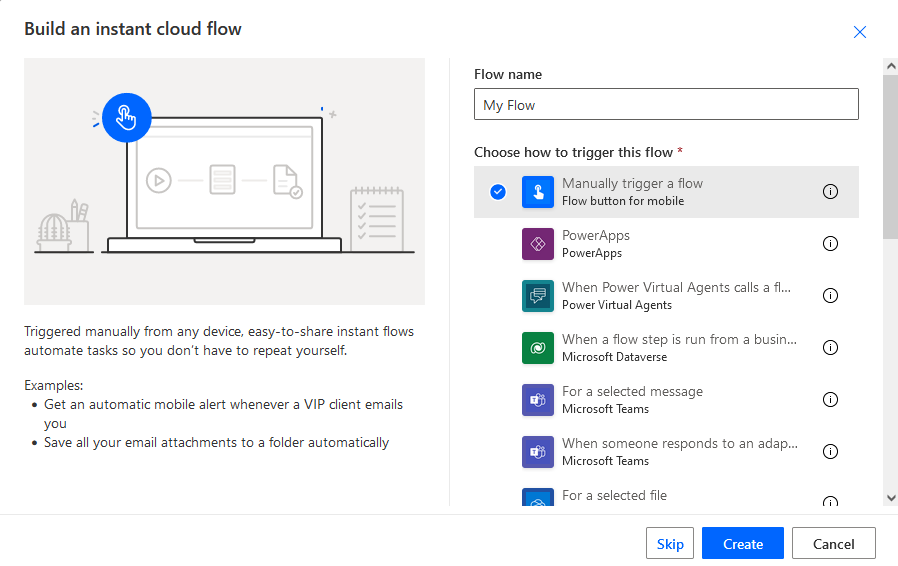
Lastly, for flows where you will use a manual trigger, select Instant cloud flow in the Create screen. Generally speaking, I use manual triggers in 3 scenarios.
- A schedule is needed, but I’m not ready for it.
- I’m not quite sure where to start, or I haven’t decided on a trigger.
- The flow should be manually kicked-off.
Searching for Actions
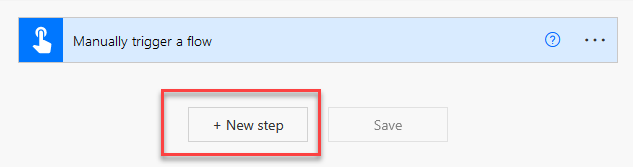
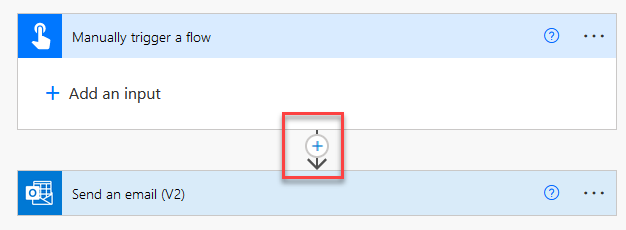
So, now that you have a flow with a trigger, let’s talk about actions. More specifically, let’s talk about searching for actions. To add an action, click on New Step or click the plus button. Then, you’ll be presented with a search window and a list of actions.
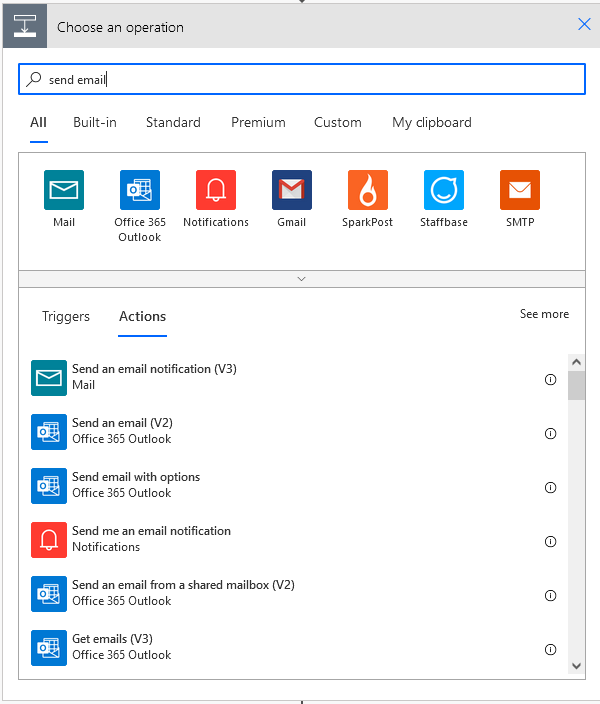
To find actions, most new users start typing in the type of action they want, like send email. However, this is an inefficient way to search in Power Automate. As you can see from the results, we get several different types of email actions, but the action we want is actually an Office 365 Outlook action. I have definitely chosen the wrong action when searching this way, so I do not recommend it.
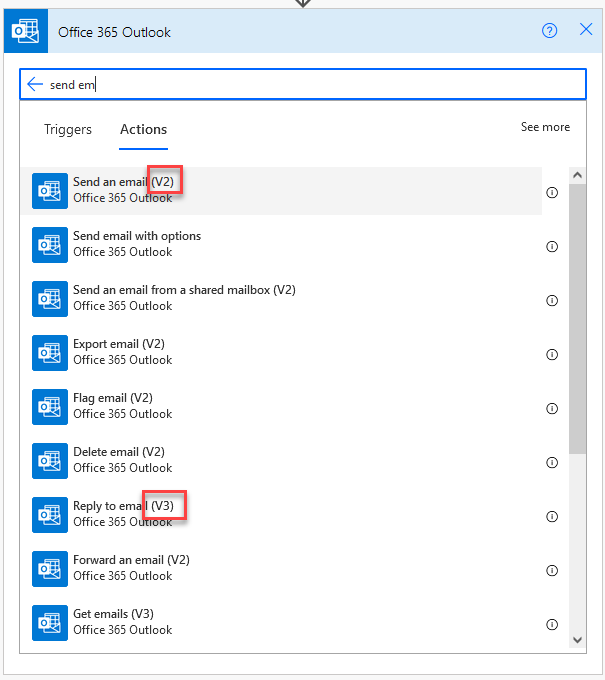
Instead, a better way to search would be to either type Office 365 in the search bar or click on the Office 365 Outlook icon. This will filter all the actions down to only Office 365 actions. From there, you can type in the search bar again to locate the specific action you want. This is also a really good way to get an idea for the range of actions you can take with Outlook in Power Automate. This 12 second video demonstrates this way of searching.
Once you locate the desired action, just click on it to add it to the flow and configure.
In the list of actions, you will commonly see different versions, as indicated by “V2” or “V3”. I use the most updated version, as older versions will eventually be deprecated. You’ll also see “(preview)”, which indicates the action is still a work in progress and might change. Be careful with these.
Configuring Actions
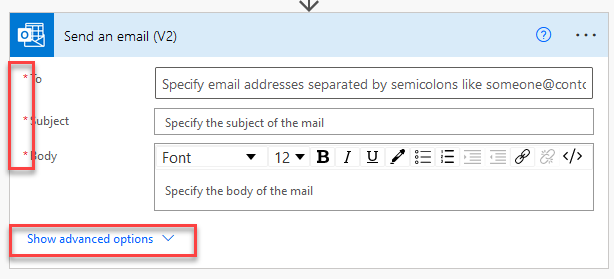
After adding an action, you’ll need to configure it. Power Automate indicates the required configuration with red astericks. Frequently you will also find more options in the Show advanced options link. You must configure everything with the red asterisk to save.
Saving
Now, you have built a flow with a trigger and an action. Here are several important considerations and recommendations for saving.

- The flow must contain a trigger and an action to save.
- You must save in order to test.
- If you close the browser window without saving, you will lose work.
- It’s very tempting to build, build, build. I recommend adding one action at a time, save, and test.
- If you want to try out a different way of performing a particular task, save a copy of the flow using Save As. Otherwise, you will find yourself adding, deleting, and re-adding the same actions over and over again.
That wraps up saving. I’ll talk more about testing and troubleshooting in a future post. Now you are prepared to explore Power Automate triggers and actions. The next post will go over what you need to know for building in Power Automate.
Pingback: Building & Developing in Power Automate » The Analytics Corner
Pingback: Troubleshooting in Power Automate » The Analytics Corner
Pingback: Getting Oriented with Power Automate » The Analytics Corner
Pingback: How to Decipher Dynamic Content in Power Automate » The Analytics Corner
Pingback: How to Update Excel with Power Automate » The Analytics Corner
Pingback: 3 Things to Know About Processing Email in Power Automate » The Analytics Corner
Pingback: What Can Power Automate Do On Mobile? » The Analytics Corner
Pingback: SharePoint Site Missing in Power Automate » The Analytics Corner